Back To School Glam on Hallmark’s Home and Family!

Back to school!!
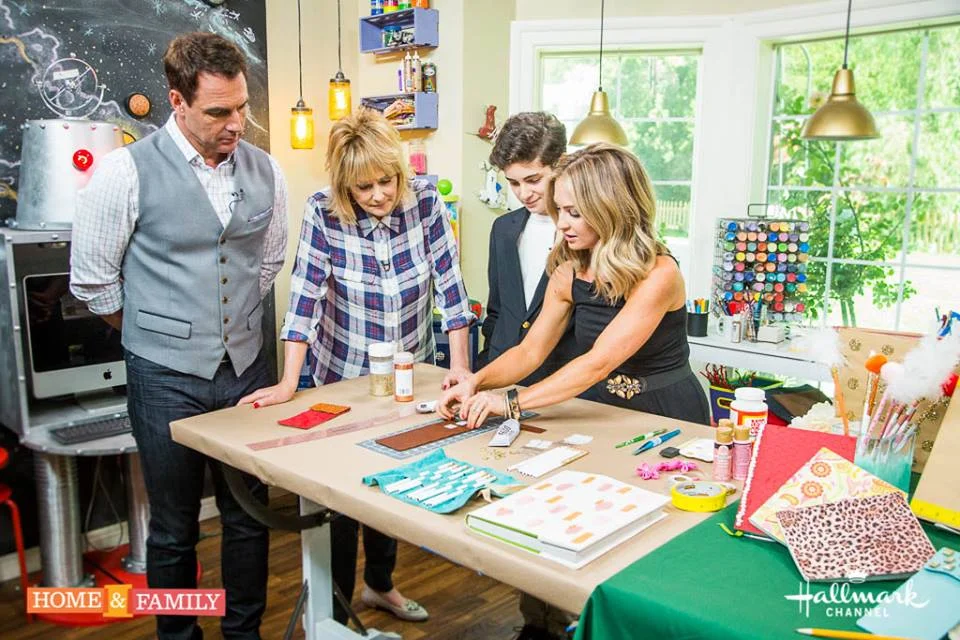
Today I am back on the set of Home and Family on The Hallmark Channel at 10am, and I am adding some glam to everyday school supplies. From DIY pencil holders, to fancy pencils, and traditional book covers, we are making back-to-school a little more fun while saving some money as well.
Here is the step-by-step on all of the items. We ran out of time and didn’t get to show how to do the pencils, or jazz up the pencil holders, but the info is below. Please leave any questions in the comment section, and I am more than happy to answer any and all questions!
Leather Pencil Cases
Supplies:
2 pieces of precut leather pieces about 9 ½” by 3 ½”
Industrial strength glue
X-acto knife or something very sharp to cut with
Mod podge and glitter; optional
Precut “Sticky Back” Velcro
Directions:
*Cut one piece of the leather down about 2-3 inches depending on size
*Place the pieces of leather together with the shiny sides facing out and the soft “inside” facing together, with the longer piece on the bottom and the cut piece on the top to make sure enough has been cut off the top piece so that the longer bottom piece is able to fold over the top to create a flap
*Line up the bottoms of the leather pieces to match; making sure they are the same size
*Use the industrial strength glue to adhere the pieces together by placing a thin line of glue along the sides and bottom of the “inside” of the leather pieces; place them together and allow to dry
*Once dry, fold the flap over to measure where the Velcro should go, and place the sticky Velcro onto the inside of the flap and front of the top piece so that when the flap is folded over it will stay closed
Optional decorations: Add studs or embellishments to the leather as desired!
**To get the “glittered” look: simply paint a layer of mod podge on a sheet of the leather, and add a layer of glitter; once it’s dry, remove excess glitter, and add a layer of mod podge, and allow to dry. This will prevent the glitter from coming off.
Wrapped Pencil Case
Supplies:
Piece of leather about 11” X 8 1/2″
X-Acto knife; or something equally as sharp and precise
Sticky Velcro and/or ribbon to hold together
Directions:
*Place the piece of leather onto a cutting board, or safe surface to cut on
*Use the sharp knife to cut about 4 even slits in the center of the piece of leather about 1 inch apart and about 2 inches from the sides
*Place pencils in and roll to close
*Place Velcro onto the leather where is closes and/or glue a ribbon on the leather and tie around to close
Decorative Pencils:
Supplies:
Pencils
Acrylic Craft Paint
Painters tape; optional
Mod podge
Glitter
Feathers and/or pom pom
Decorative tape
Directions for painted pencils:
*Create a “color-blocked” look by wrapping painters tape around the pencil as desired to create sharp, clean lines OR simply paint the pencils the desired color
*Allow to dry then follow up with a second coat, and third if needed, allow to dry completely
Directions for glittered pencils:
*Paint a layer of Mod Podge on the pencils where glitter is desired
*Pour glitter over the pencil until the entire area where the Mod Podge has been painted on is covered
*Allow to dry completely
*Apply another thin layer of Mod Podge over the glitter to prevent the glitter from falling off, and allow to dry completely
Optional Additions:
*Use glue to adhere a pm pom to the top of the pencil
*For the feather look, place 3-4 small feathers around the eraser part of the pencil and wrap with decorative tape to adhere to the pencil
Traditionally Covered Books:
Book
Kraft Paper
Optional decorations: paint, pom poms, mod podge and glitter, decorative flowers, decorative scotch tape, etc
Directions
*Measure the kraft paper so that it is about 3 inches longer on both sides (considering the width of the book as well) and about 1 ½ inches longer on the top and bottom
*Fold the top and bottom a little less than the 1 ½ inch length
*Place the book into the center and fold the extra, roughly, 3 inches over on both sides
*Place the back of the book cover into the folded side and repeat with the front so that the entire thing is covered and the book can open and close without the cover coming off
Decorations for the Covered Books:
*An easy way to add decoration is with paint. Use craft paint to make any design desired, glue on decorative flowers for an even more girlie look
*Glue on Pom Poms for an easy decoration
*For glittered polka dots, use a wine cork or something round to apply the mod podge to the book in a round shape. Cover with glitter and allow to dry, then apply a thin layer of the mod podge to the glitter to prevent it from getting everywhere, and allow to dry. Be careful not to get the mod podge outside of the glitter or it will dry darker and be noticeable.
*An easy way to add decorations is with decorative tape available at the craft supply store. Simply place tape onto the kraft paper in desired design.
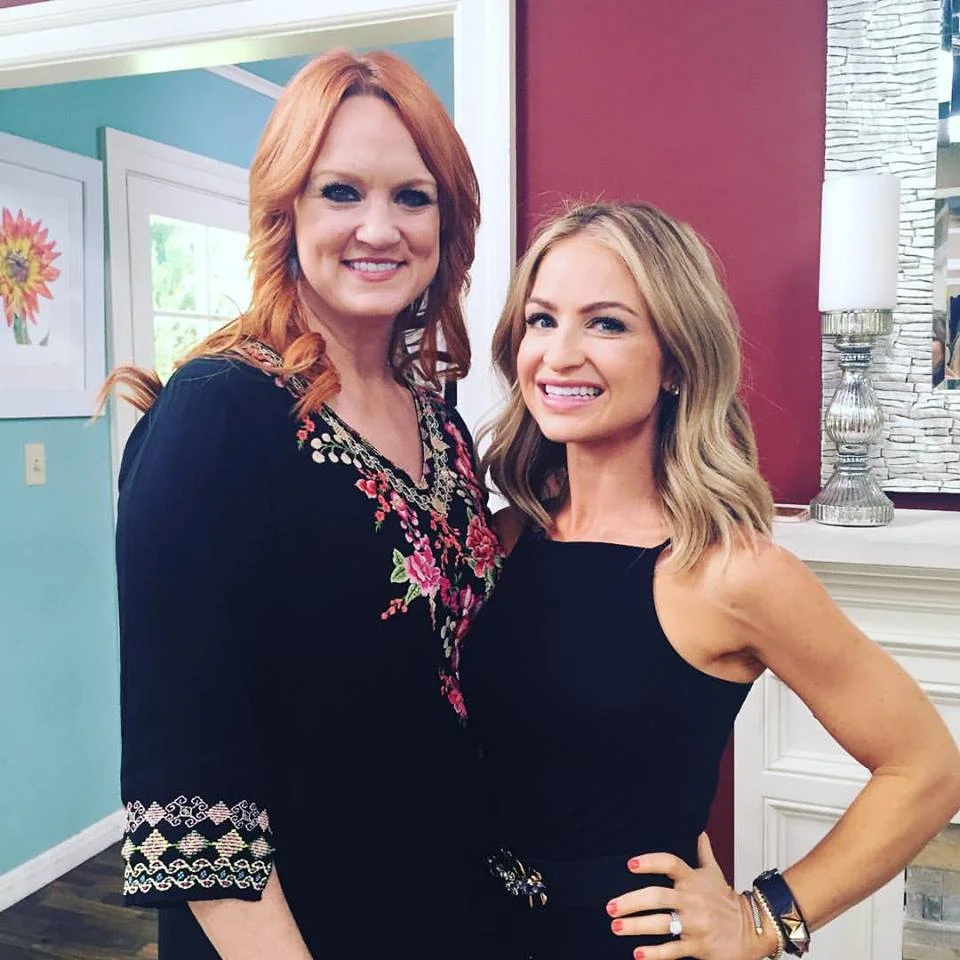
I was also very excited to meet Ree Drummond, aka the Pioneer Women!
