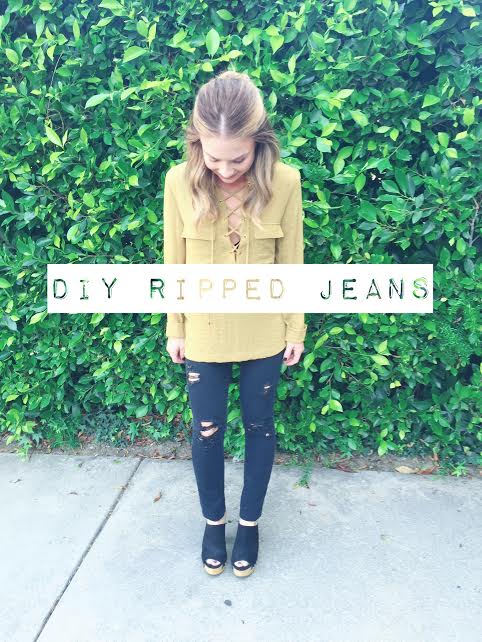
DIY Ripped Jean Tutorial

I love the “ripped jeans” look, but it is crazy how much more expensive it is to buy jeans that already ripped up! You would think they would cost less? There are some things I don’t mind spending money on like organic food, nice lipstick, perfume, a timeless bag, BUT I can’t justify spending lots of money on a trend. However, I still LIKE the look, and thought that I could create it on my own!
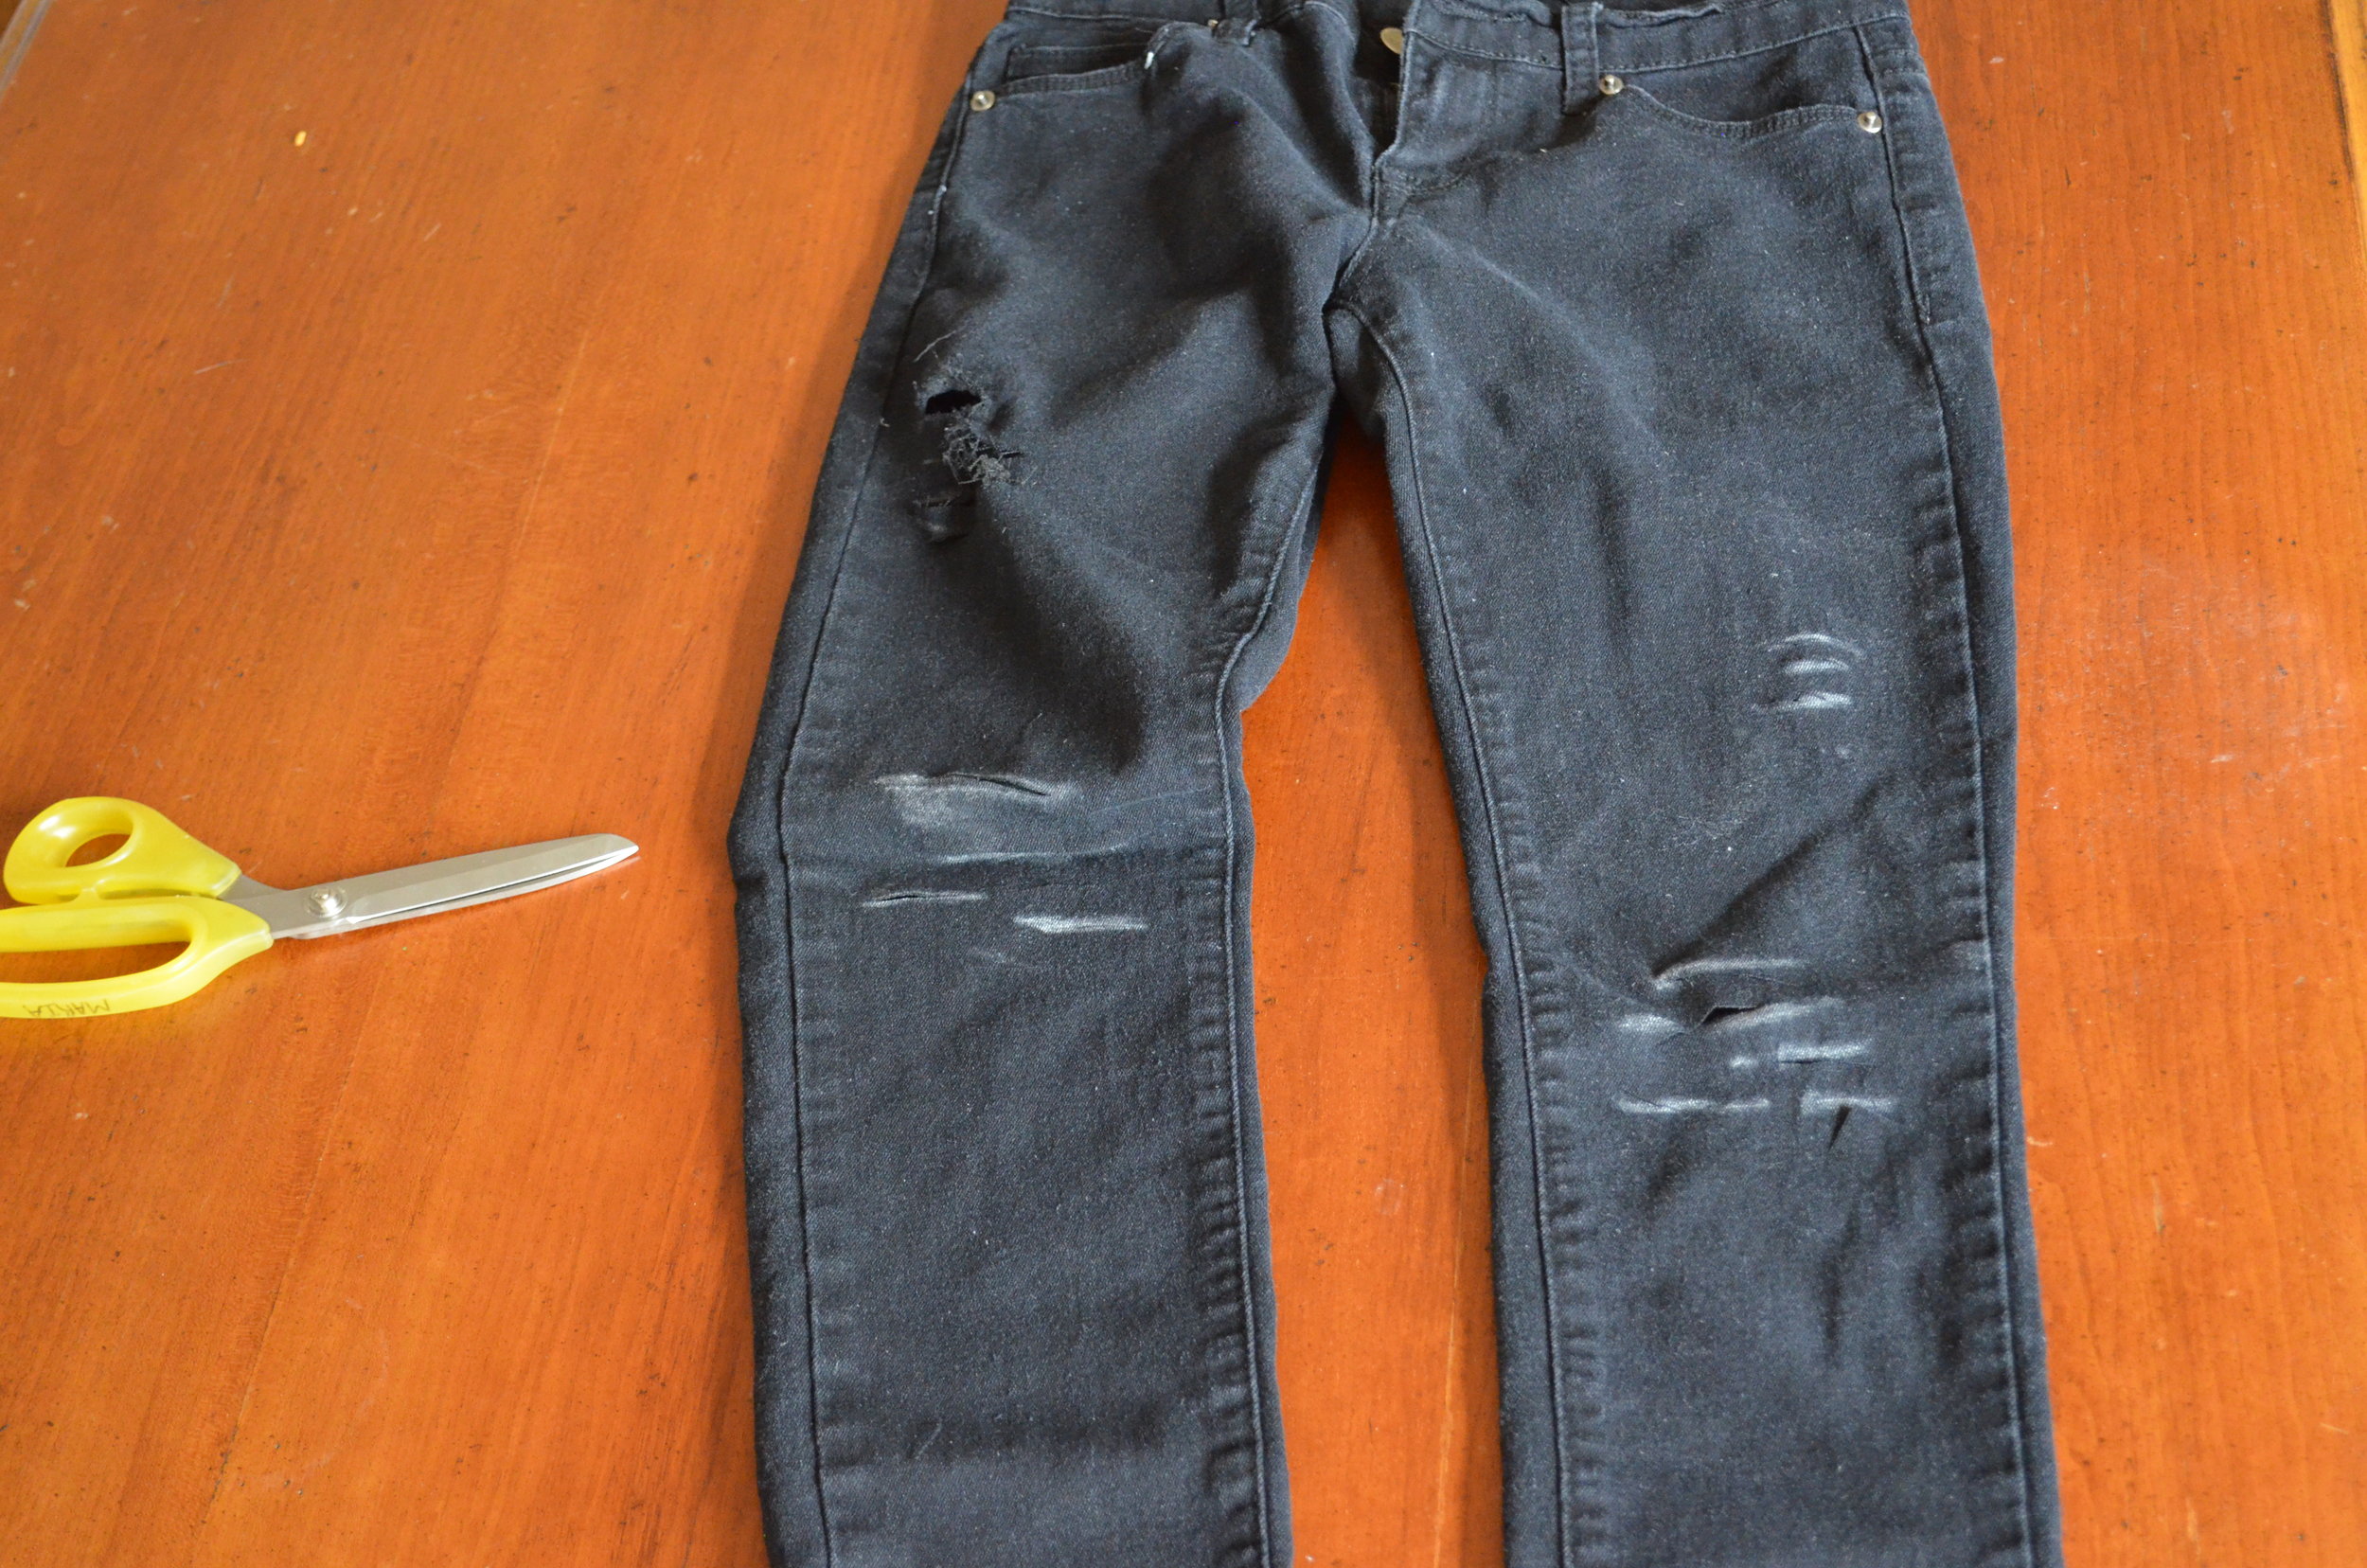
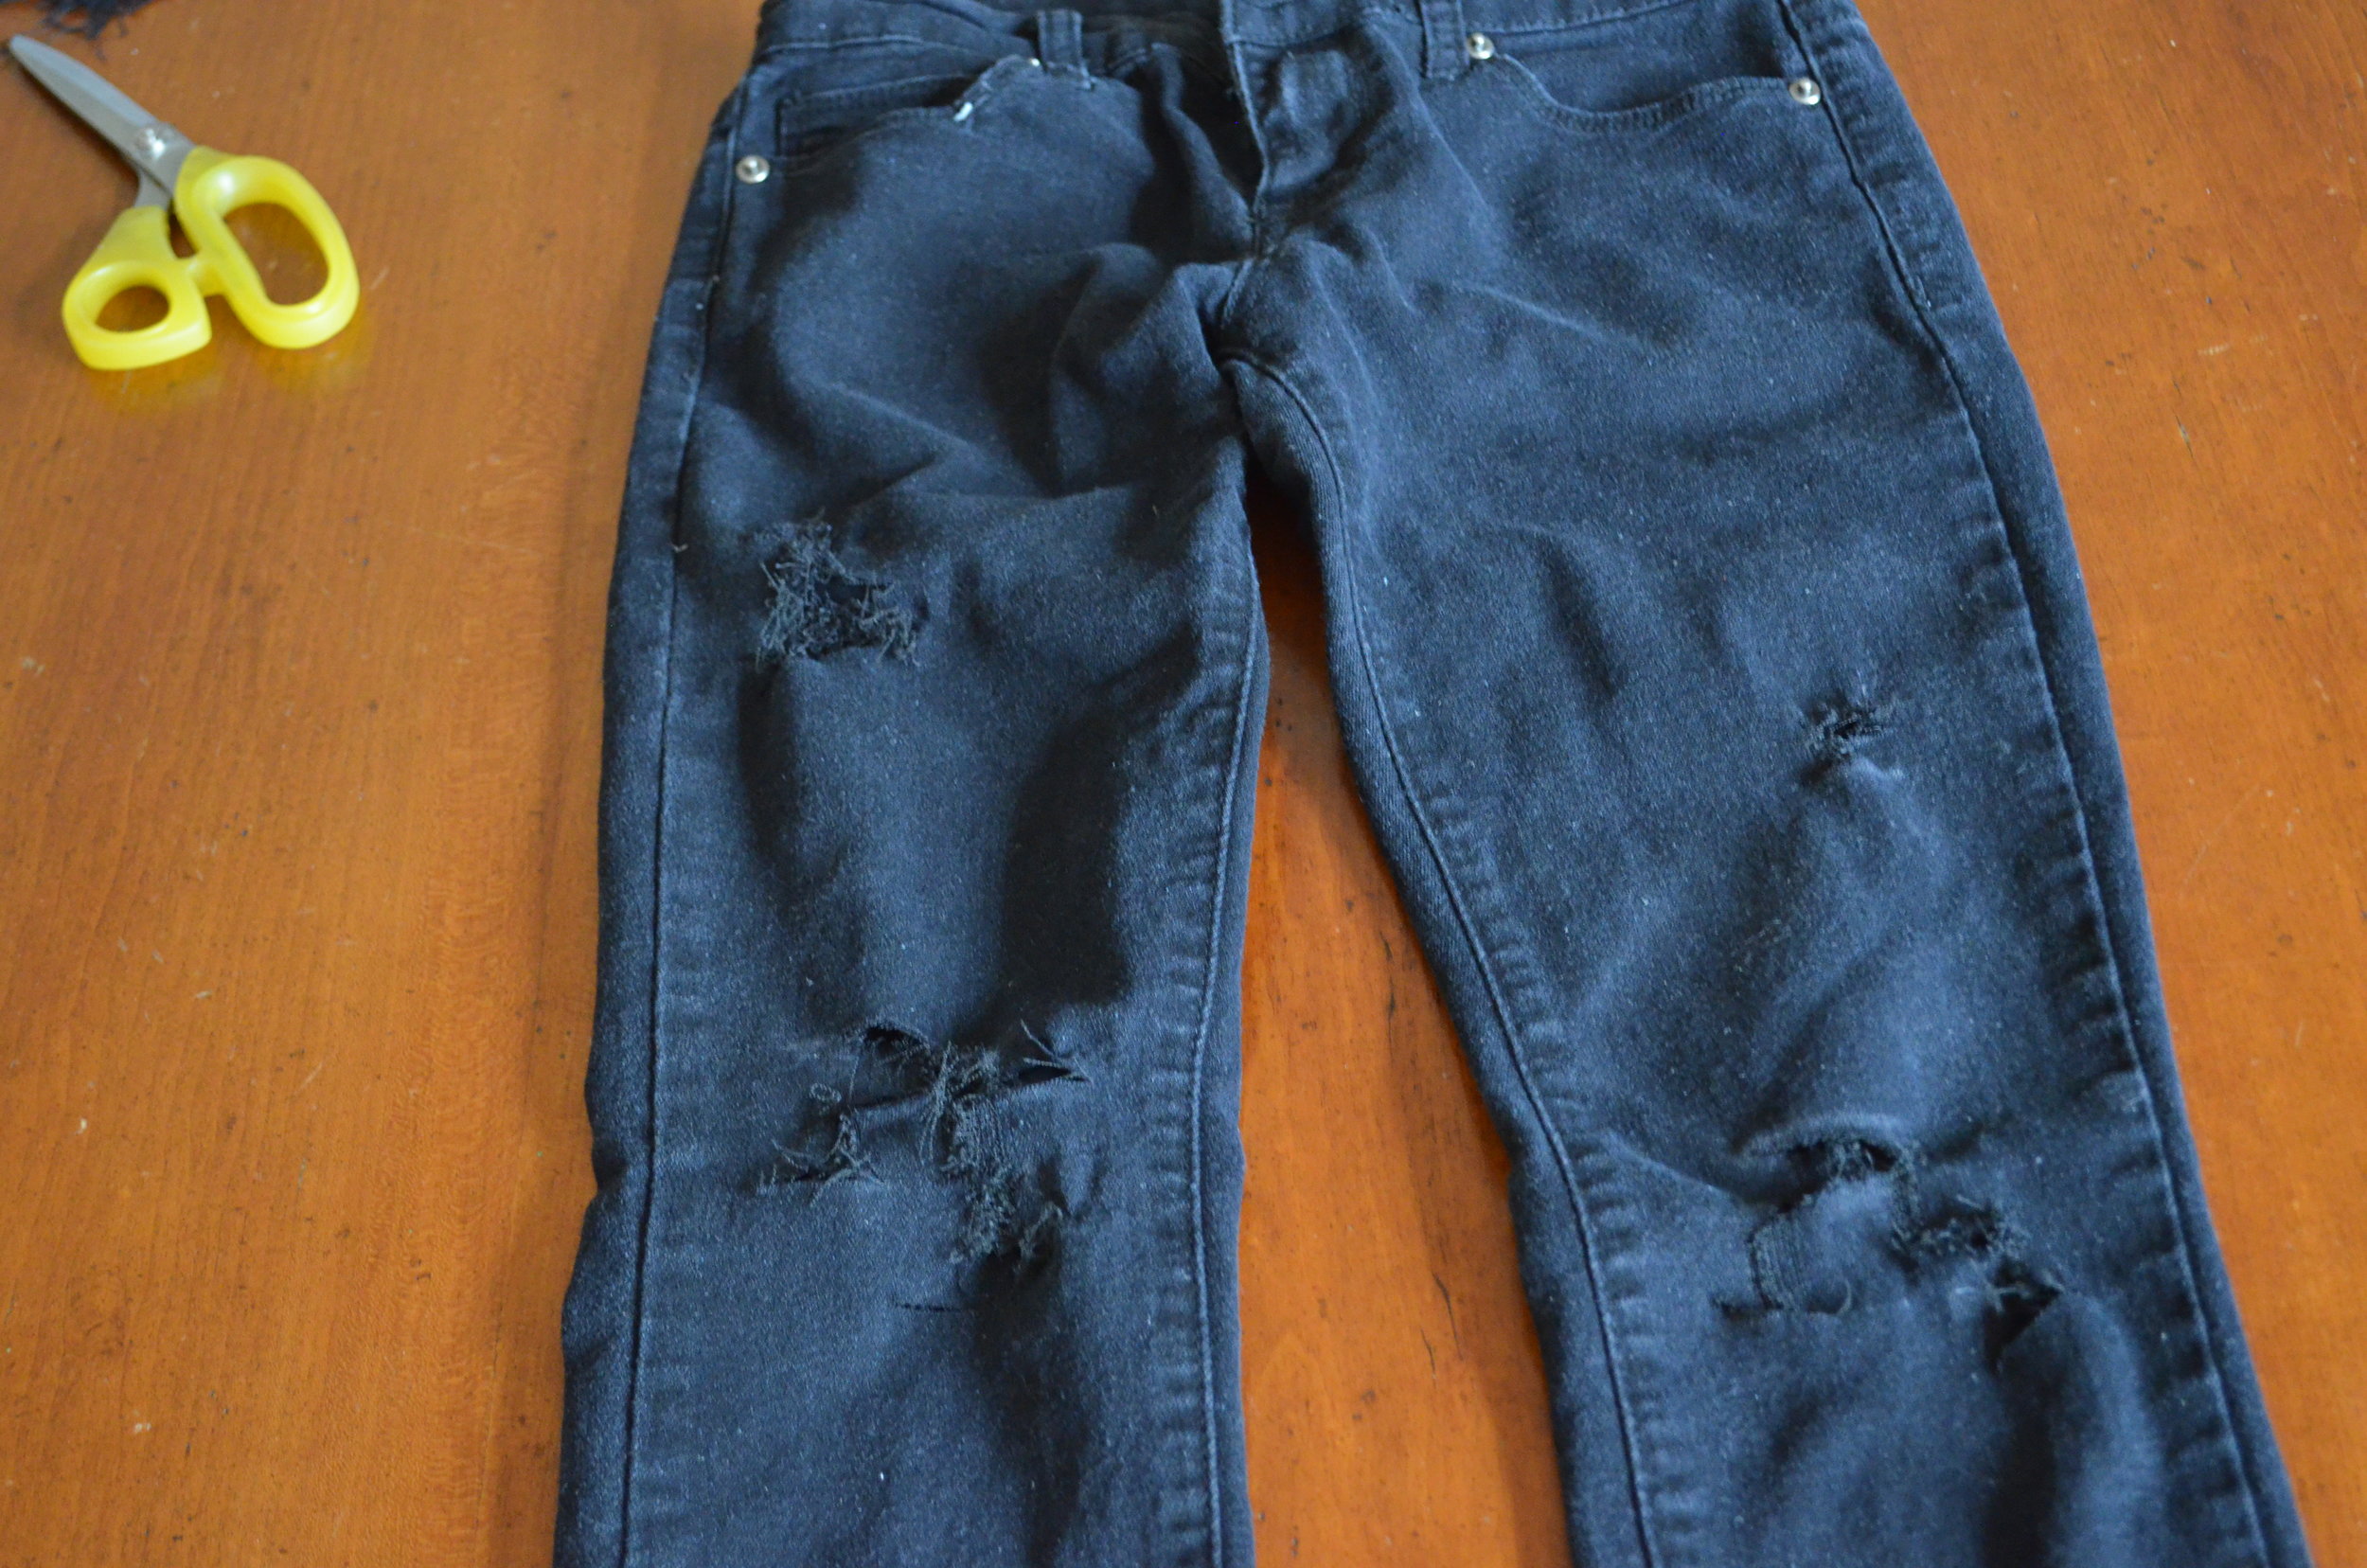
Making your own distressed jeans is really simple. All you need to do it mark the areas you want the rips to be with chalk. I do this, because I like to see what the overall picture is going to look like before doing any cutting. Since I am using chalk, I can simply wipe it off and start over if I want. Once the decision is made on where the cuts are going to be, I use a pair of fabric scissors to cut the jeans. Be careful when doing this, and make sure you aren’t cutting the other side of the pants either. Just cut into the front of the pants.
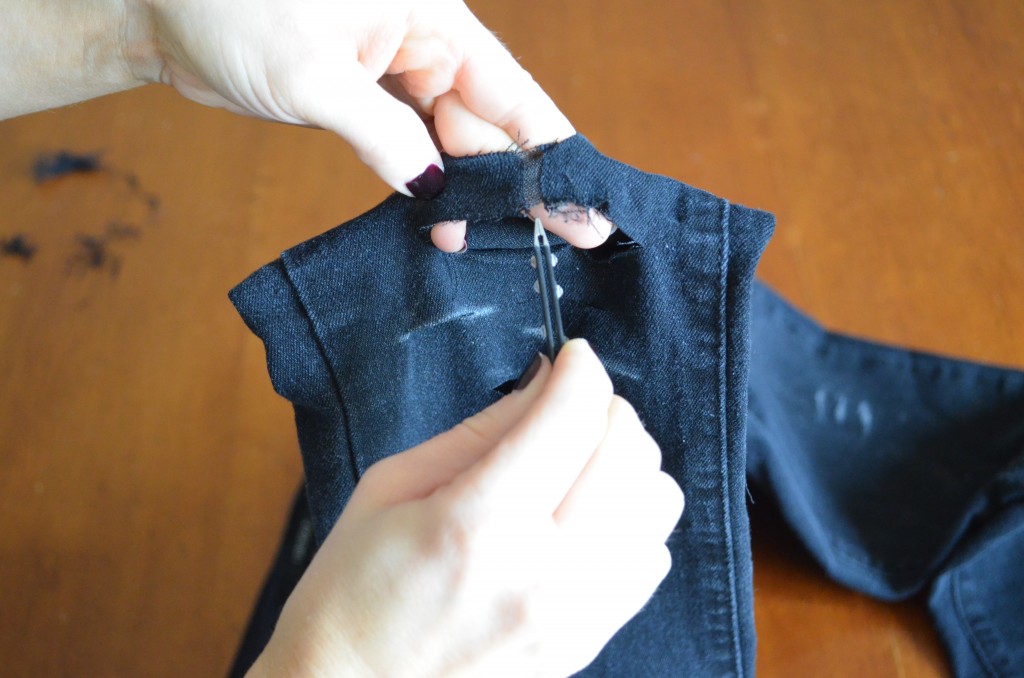
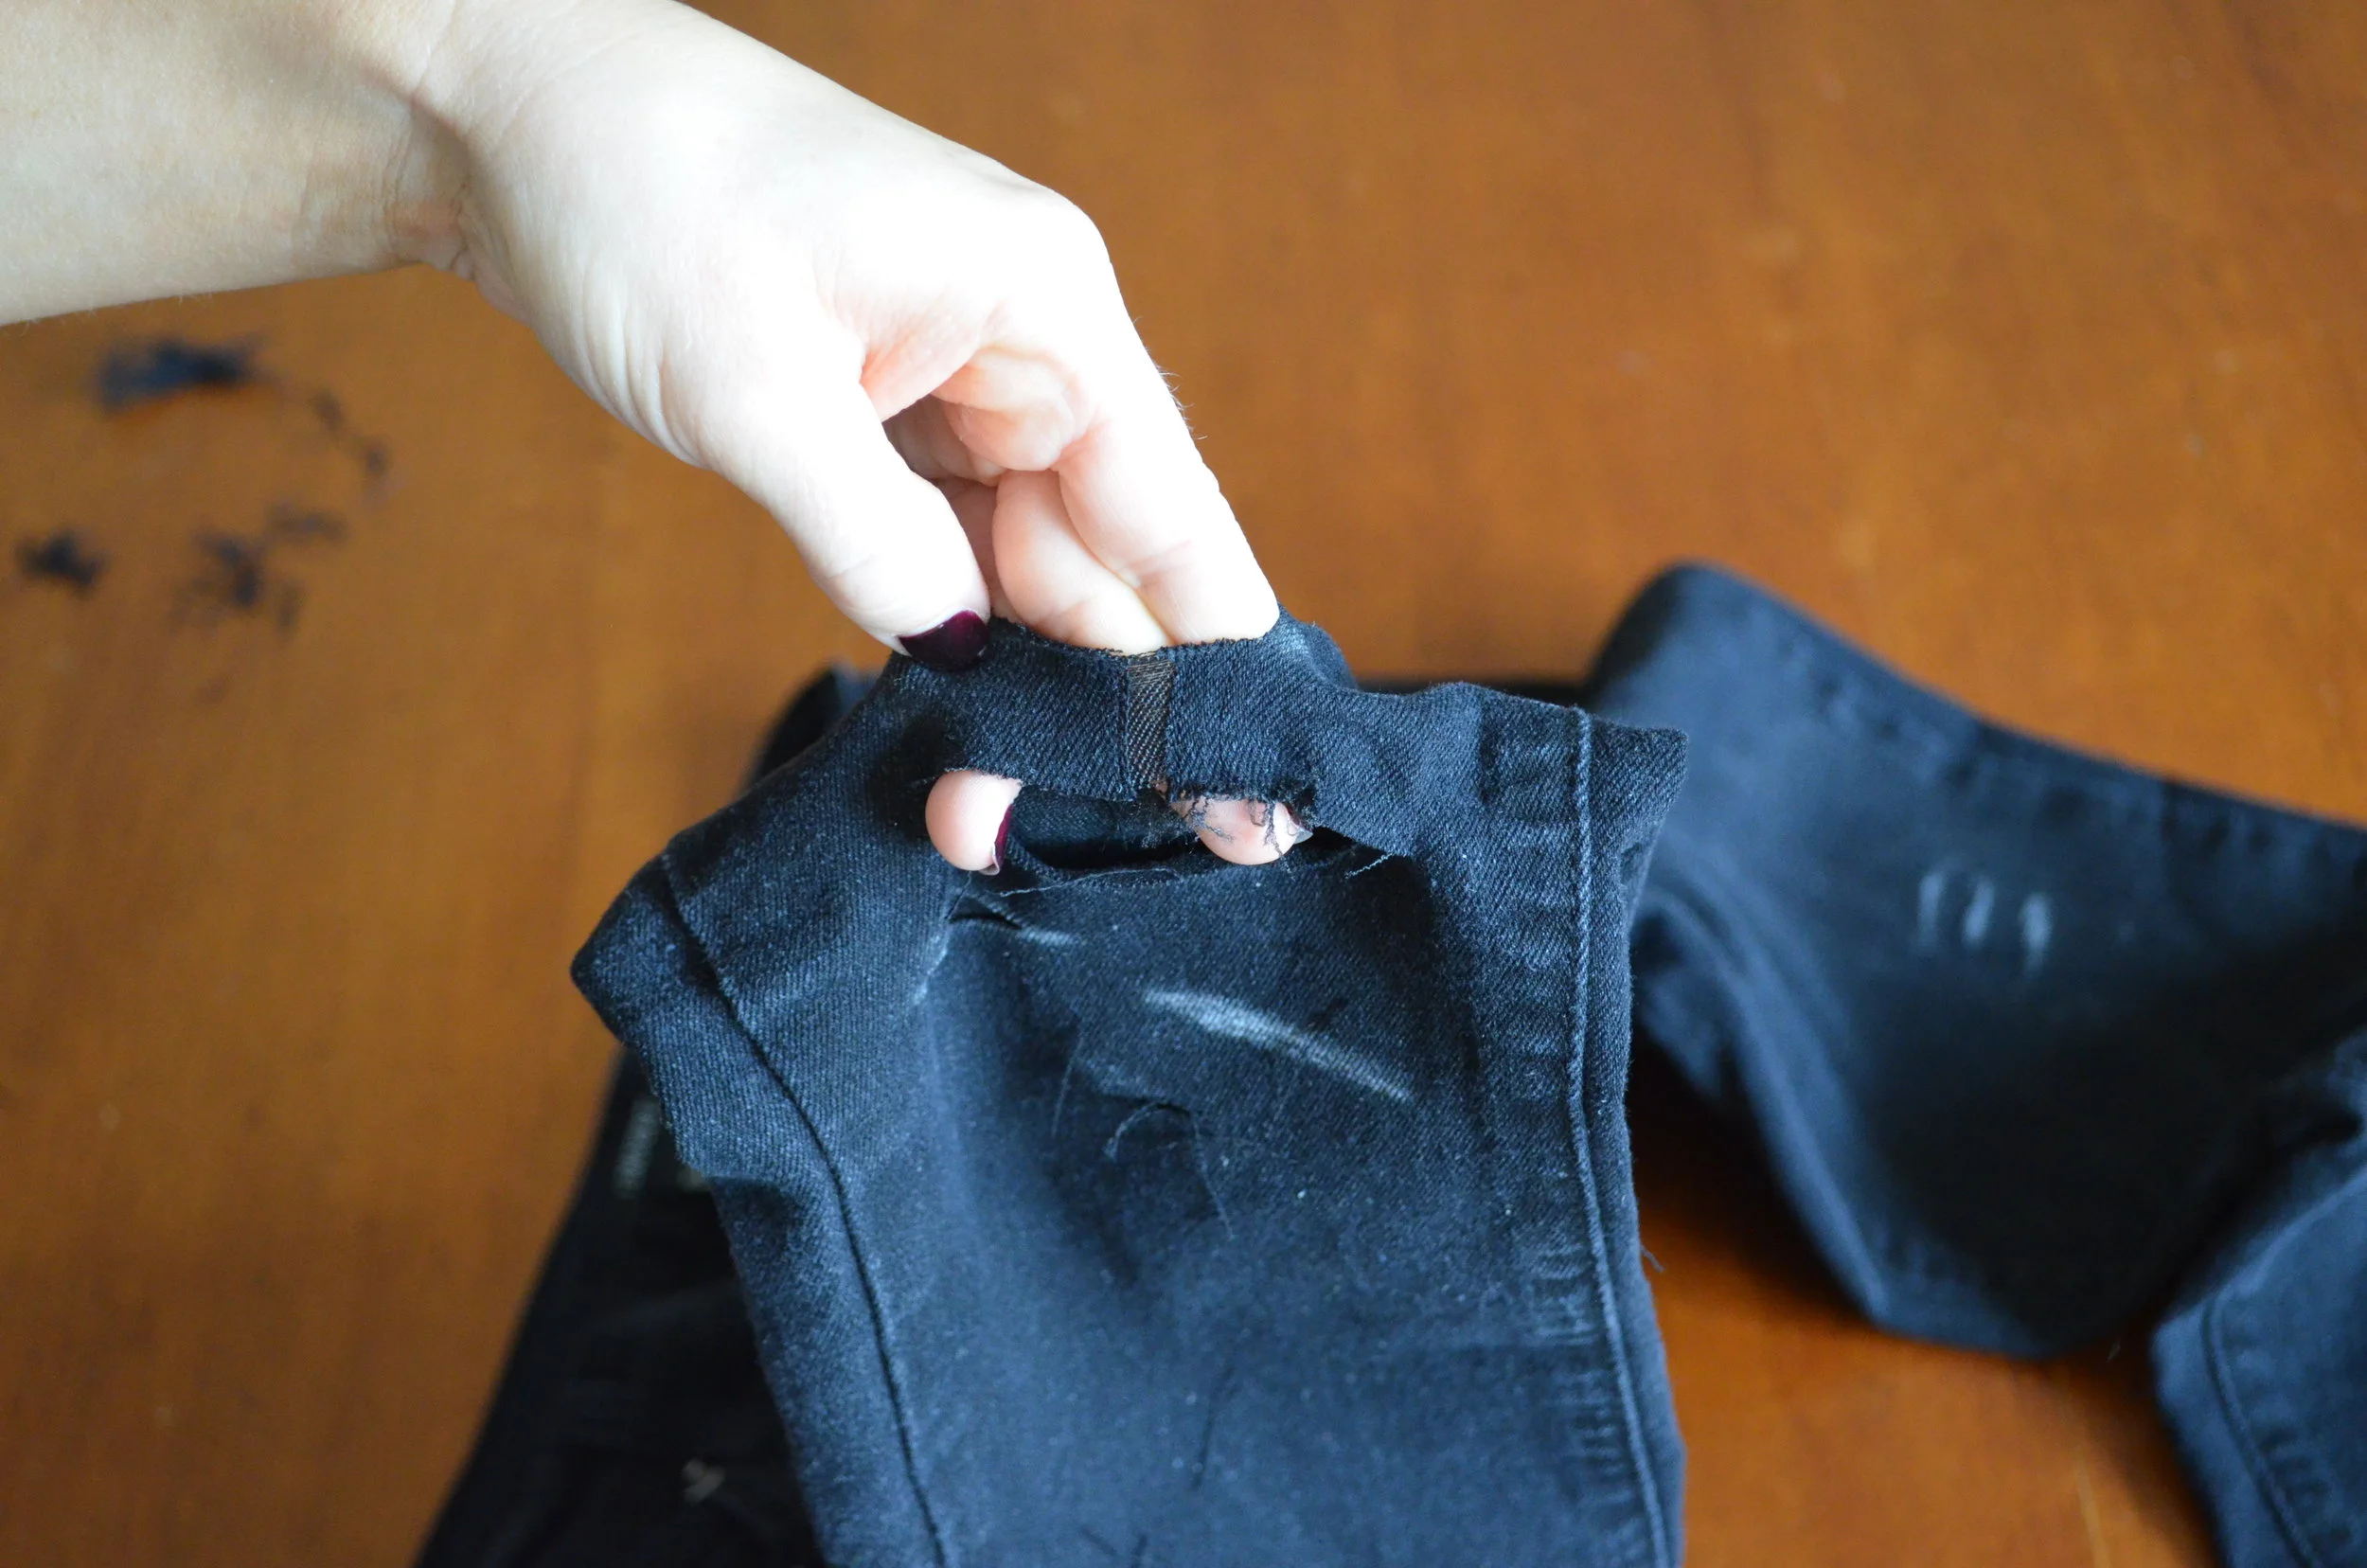
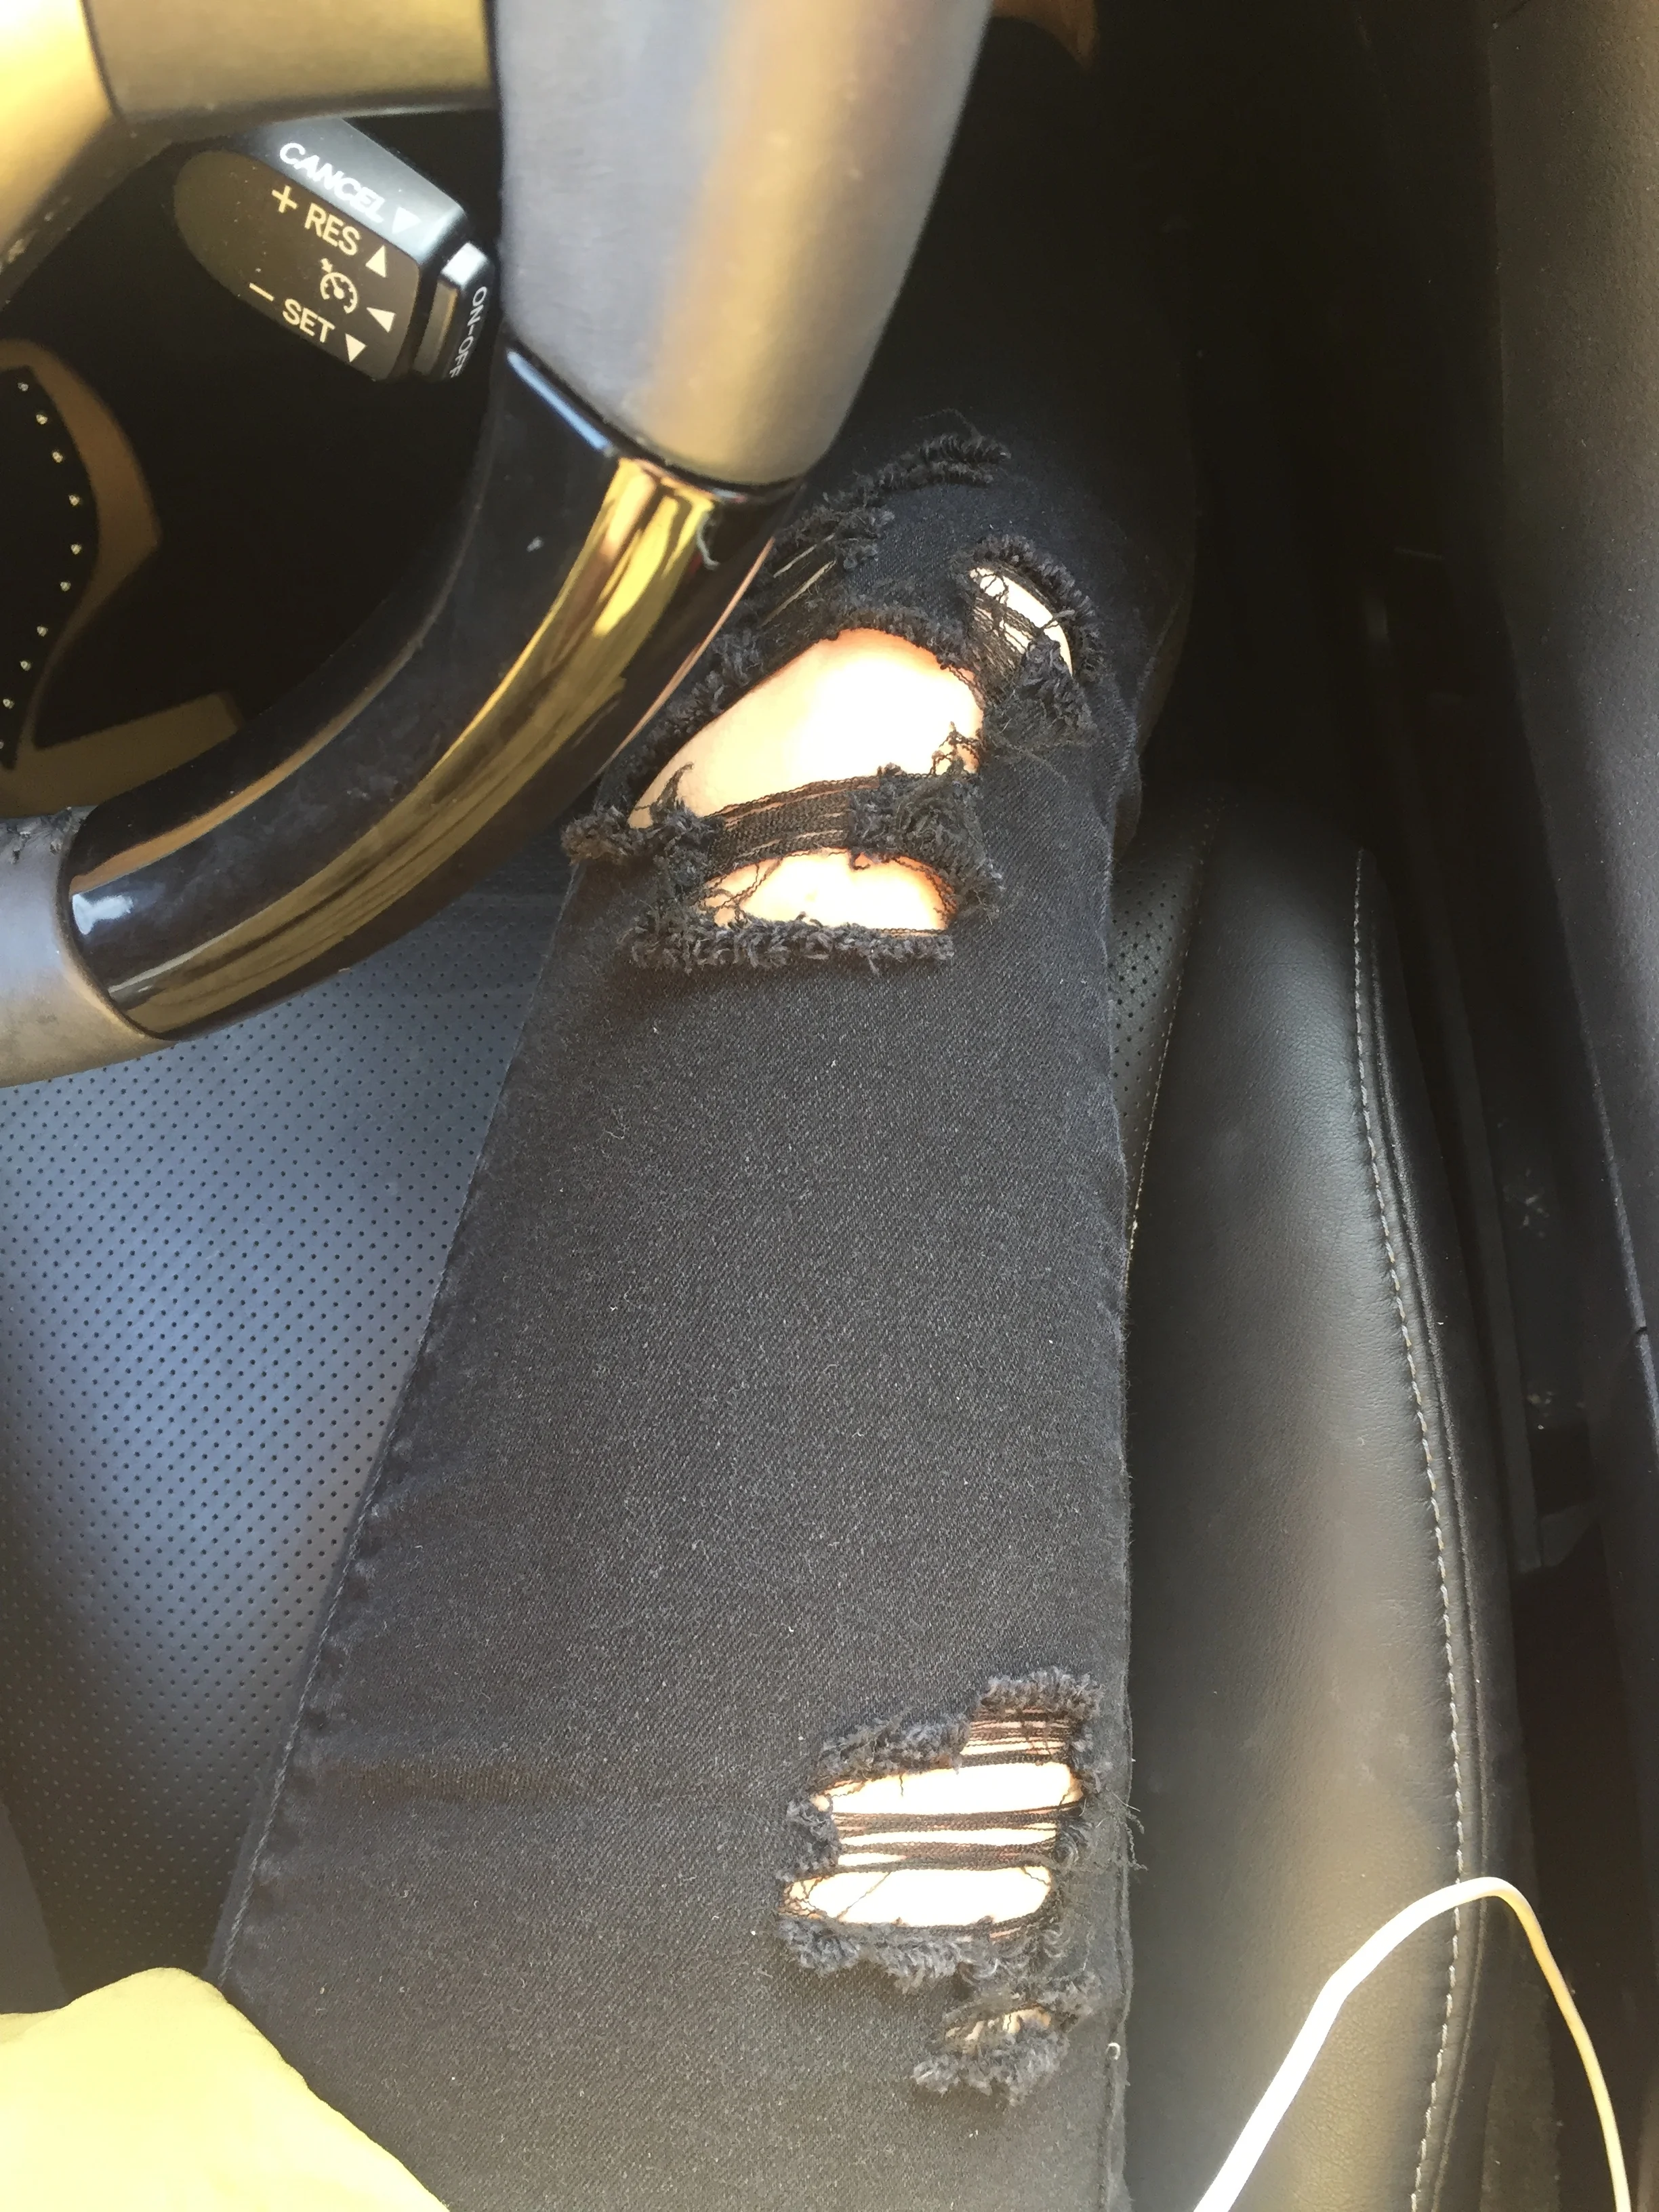
Then, all you need is some tweezers! Use the tweezers to pull out the vertical threads in the pants, leaving the horizontal threads intact. After you do it, wash and dry the jeans. This allows the areas that you cut to fray a little more so that they don’t look like you just cut them.
Then wear it!


‘


