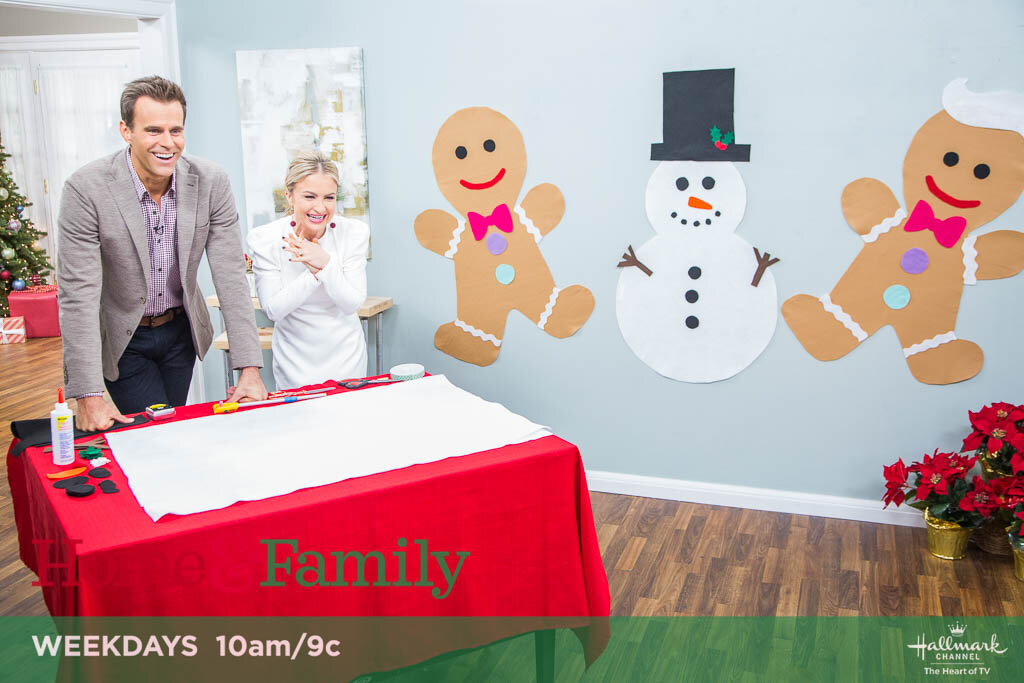
DIY Kid’s Felt Snowman and Gingerbread Men
This DIY goes to show that you don’t need to spend a million dollars to entertain your kids. All I did was create shapes of fun Christmas icons out of felt and stuck them onto a wall with mounting tape. Felt sticks to felt, so the other details are just FELT cut into fun shapes!
Tutorial below!
MATERIALS:
-
Felt in white, black and various colors for decorative elements
-
Chalk
-
Fabric scissors
-
Command strips or ribbon and thumbtacks for hanging
-
Optional: Template for the gingerbread man
INSTRUCTIONS:
Download the gingerbread man template here.
1. Draw the body shape onto the felt.
-
If making the snowman, take a large piece of white felt and fold it in half, then draw two half-circles, one smaller than the other.
-
In this picture, the large circle is 12.5 inches in radius (25 inches in diameter; the smaller circle is 7.5 inches in radius (15 inches in diameter) and they overlap 5 inches
-
If making the gingerbread man, print the template on tile setting, then piece together with tape to use as a template.
2. Cut out the body of the snowman or gingerbread man.
3. Draw out the decorative elements like the hat, eyes, and buttons onto felt in desired colors. Cut out.
4. Once you have the hat, glue on with Fabri-Tac so it is secure, this will be the only non-adjustable element.
5. To hang, adhere command strips and stick the body to the wall.
6. Bring over all of the decorative elements along with your kids and enjoy!


