DIY Clay Keychains for Back to School

As much as I am counting down the days until school starts again, I cannot believe my son will be in 2nd grade. He is going to a new school this year, so he is a little nervous to get started. Luckily we have some good friends that will be in his grade, but I remember starting at a new school when I was a kid and it felt like such a huge leap.
Something my mom would do for me when I had big days, like the first day at a new school, is give me a little gift before I left for the day. It wasn’t ever anything too big or expensive, it would be a little charm, or heart-shaped crystal — just some small memento to let me know she was with me throughout my day. It was a little thing I could carry around with me to remind me that I had someone at home supporting me, cheering me on, and who would be there for me no matter how the day went.
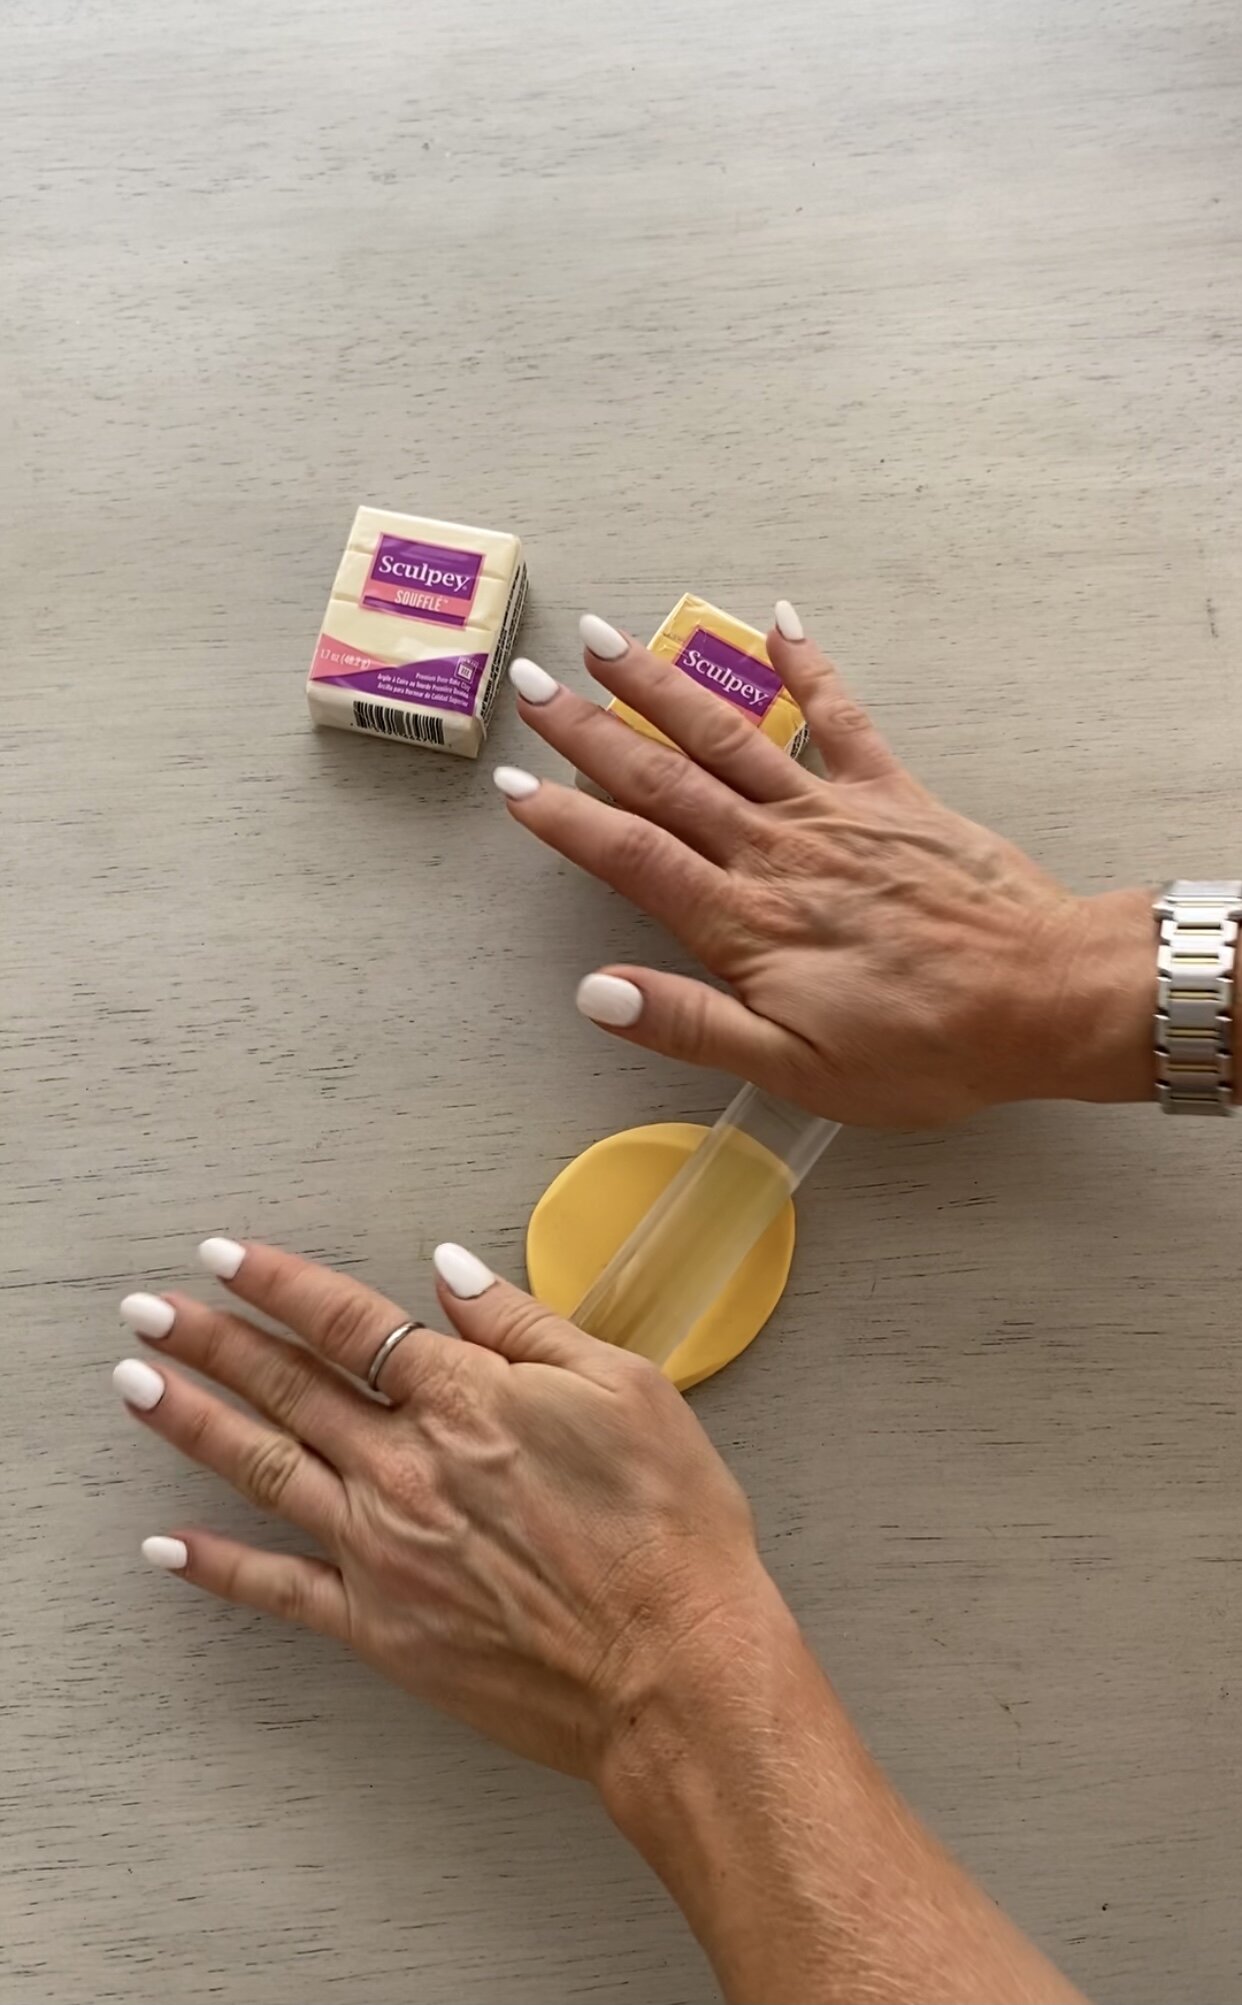
For Grant’s big day, I wanted to do the same thing! So, I default to my favorite craft supply…Sculpey clay! Sculpey has TWO NEW colors in the souffle line and they are WINNERS! There is a beautiful neutral color ivory and a chic yellow ochre that are beautiful alone but also mix and match perfectly with the other colors in the Sculpey line as well. Since I call Grant “sunshine” as a term of endearment, I thought it would be cute to create a keychain charm of a sun with the ochre color and add the lettering “shine” on the back. The Sculpey Soufflé clay is a lightweight clay that after baking, has a beautiful suede finish. It is strong and holds detail making it the perfect choice for this craft because it will showcase the lettering I wanted to add. This clay is super flexible and can even be cut and sewn after baking – perfect for embellishing bags, making tags, and so much more!
I got carried away with the colors and created a cloud that says “dream” for our mail key since my youngest son loves to use the key to get the mail, and a pretty rainbow keychain…for myself!
Here is the link to the IG tutorial

Sun Keychain:
Sculpey Souffle clay in ochre
Acrylic clay roller (a rolling pin can be used as well, but this roller will change your life!)
Circle cookie cutter
X-acto knife
Cutting board
Baking sheet lined with parchment
Jump Rings
Jewelry Chain
Key Rings
**I like to buy keychain supplies in a kit like this**
Roll the clay in your hands to make a ball and roll it out onto a clean surface using the acrylic roller so that it is 1/4 inch thick.
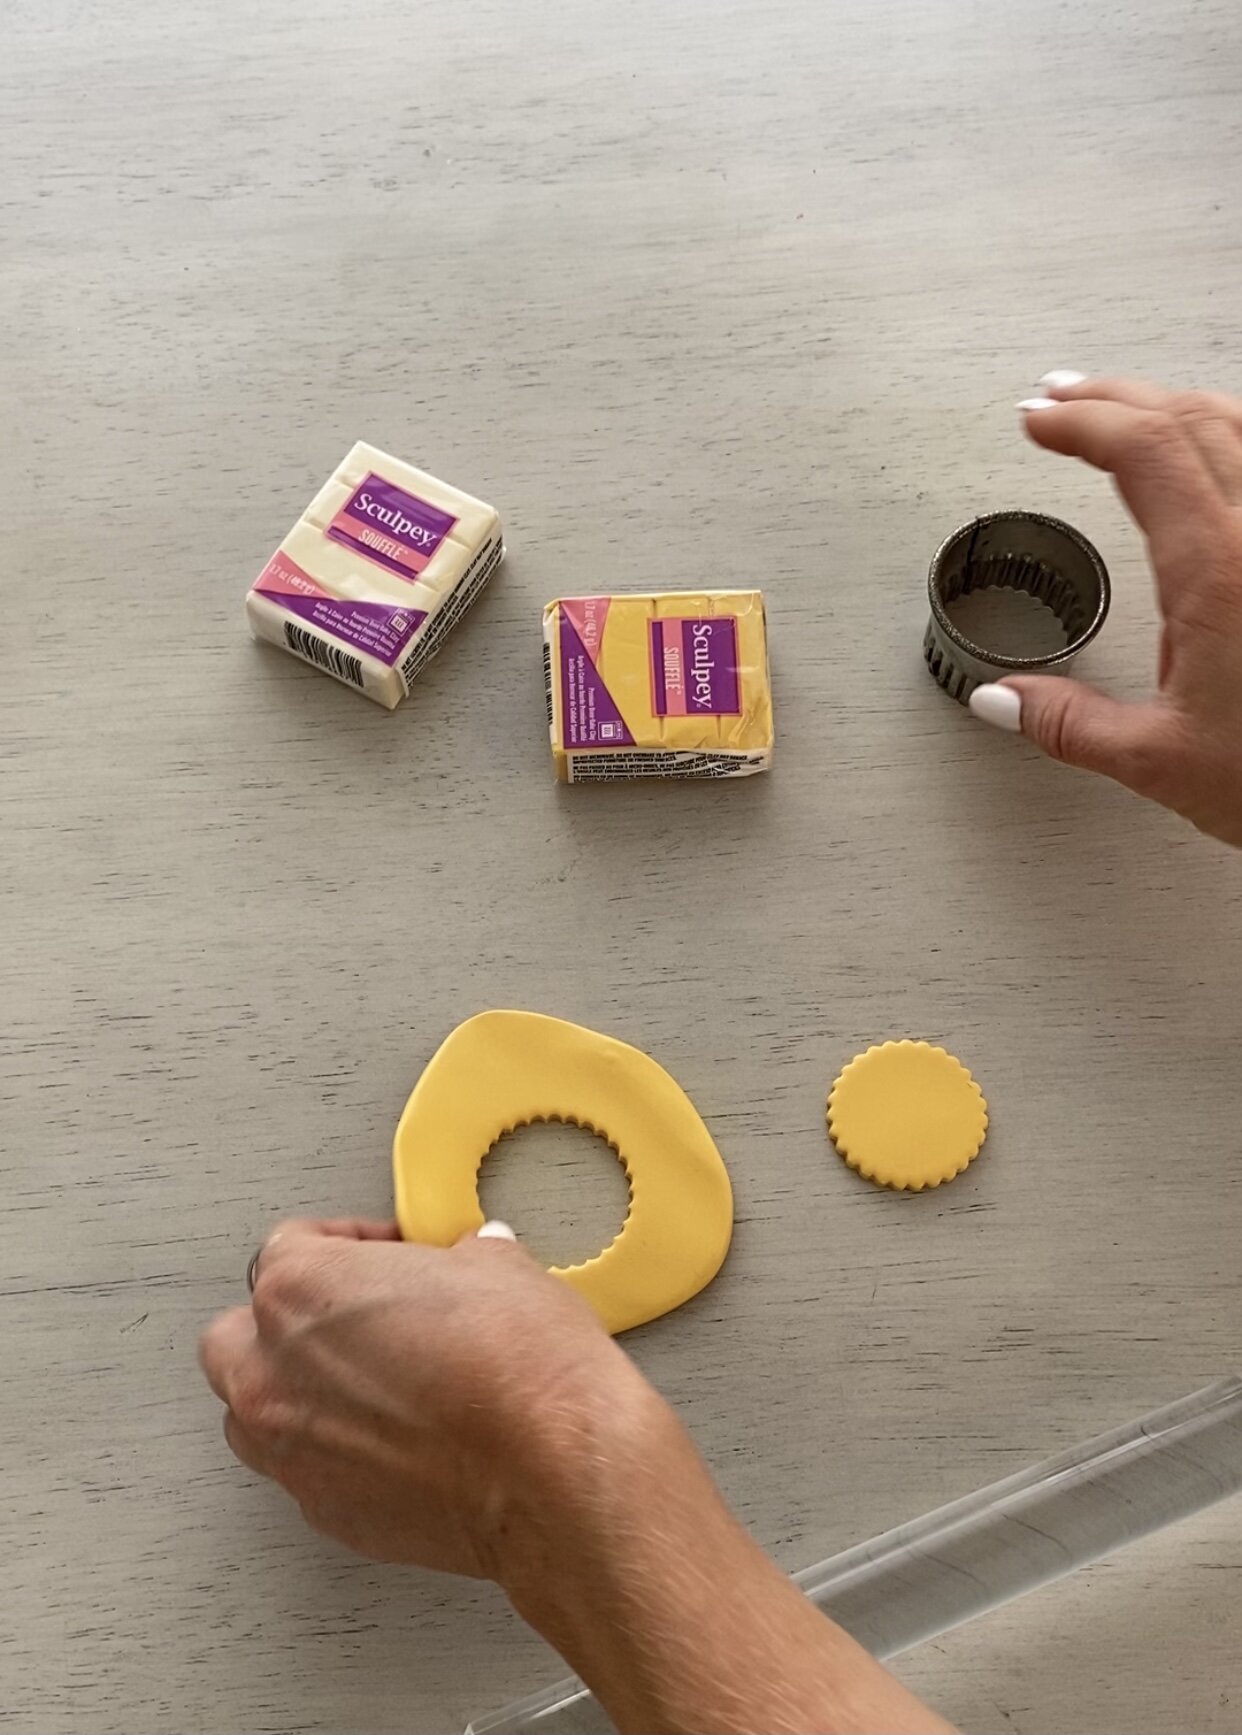
Use the cookie cutter to cut out a circle shape.
Re-roll the clay and place the circle in the middle.
Place the clay onto a cutting board.
Use the X-acto knife to cut out the “sun” shape around the circle.
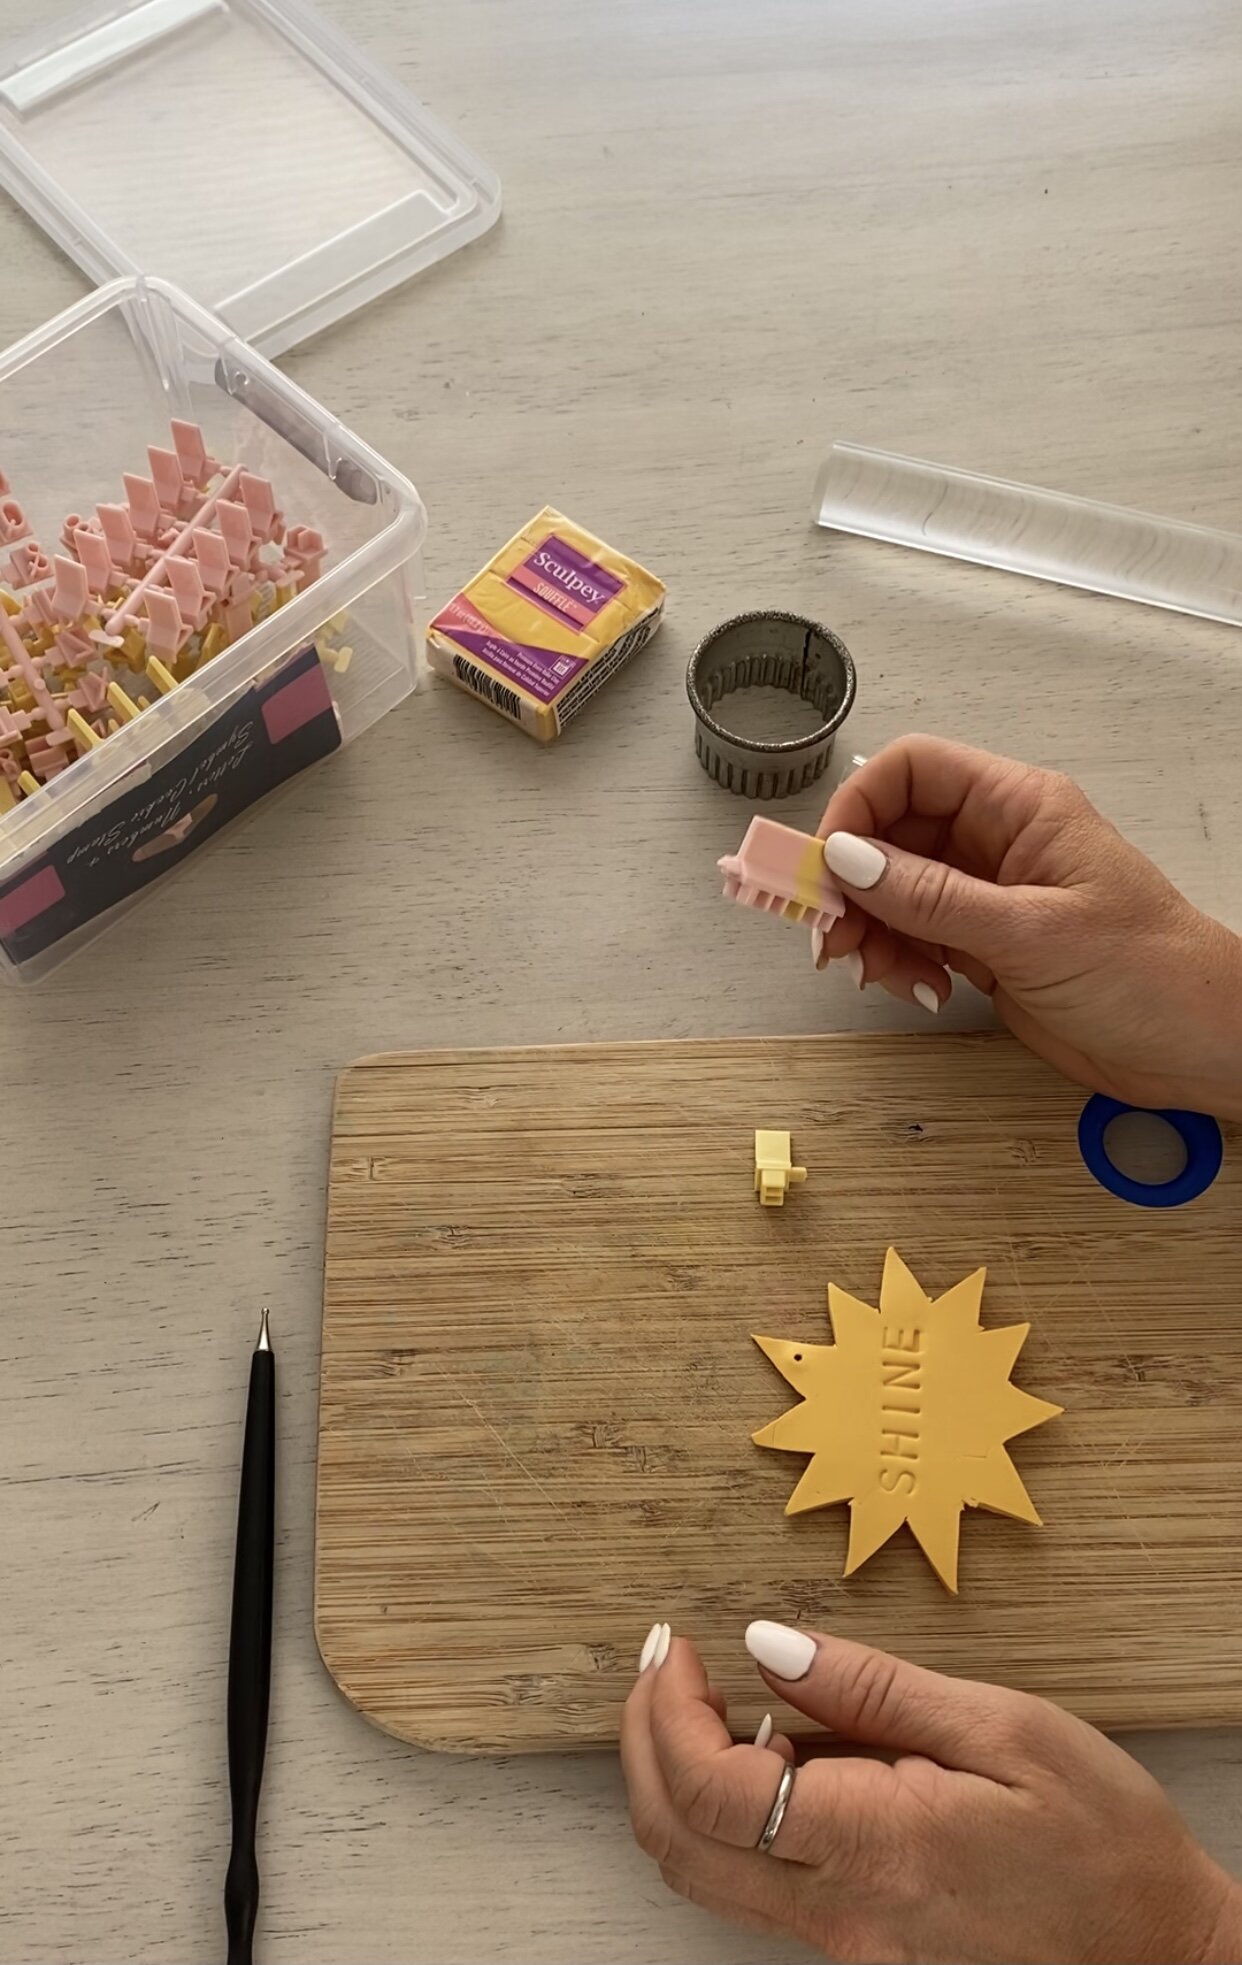
Flip it over and stamp the letters to create “shine” on the back.
Use the Sculpey detail too to punch a hole in the top of the “sun” shape.
Place on a baking sheet and bake according to package instructions.
Once baked and cooled, attach the jump ring and key ring by using the jewelry pliers.
Attach it to the backpack and you are ready to go!!


Cloud Keychain:
Sculpey Souffle clay in ivory
Jump Rings
Jewelry Chain
Jewelry Pliers
Key Rings
Roll the clay in your hands to make a ball and roll it out onto a clean surface using the acrylic roller so that it is 1/4 inch thick.
Use the Sculpey detail tool to create a “cloud” shape.
Use the X-acto knife to cut away the excess clay.
Use the detail tool to write out “dream” and also to punch a hole at the top of the “cloud” shape.
Place on a baking sheet and bake according to package instructions.
Once baked and cooled, attach the jump ring and key ring by using the jewelry pliers.
Attach it to the backpack and you are ready to go!!

Rainbow Keychain:
Sculpey Souffle clay in ochre, ivory, and white
Craft knife or clay blade
Jump Rings
Jewelry Chain
Jewelry Pliers
Key Rings
Roll the ochre colored clay on the table back and forth to create a long rope.
Repeat with the ivory and white clay.
Place them together to create a rainbow shape. Use your hands to gently press the pieces together so that they will stay together when they bake.
Use the clay blade (a knife can be used as well) to cut the bottom of the “rainbow” so that both ends are even and have a clean cut.
Use the sculpey detail tool to punch out a hole at the top of the “rainbow” shape.
Place on a baking sheet and bake according to package instructions.
Once baked and cooled, attach the jump ring and key ring by using the jewelry pliers.
Attach it to the backpack and you are ready to go!!


Thank you Sculpey for sponsoring this post. All opinions are my own.
