DIY Nested Placemats and Spring Table Setting
DIY Nested Placemats and Spring Table Setting
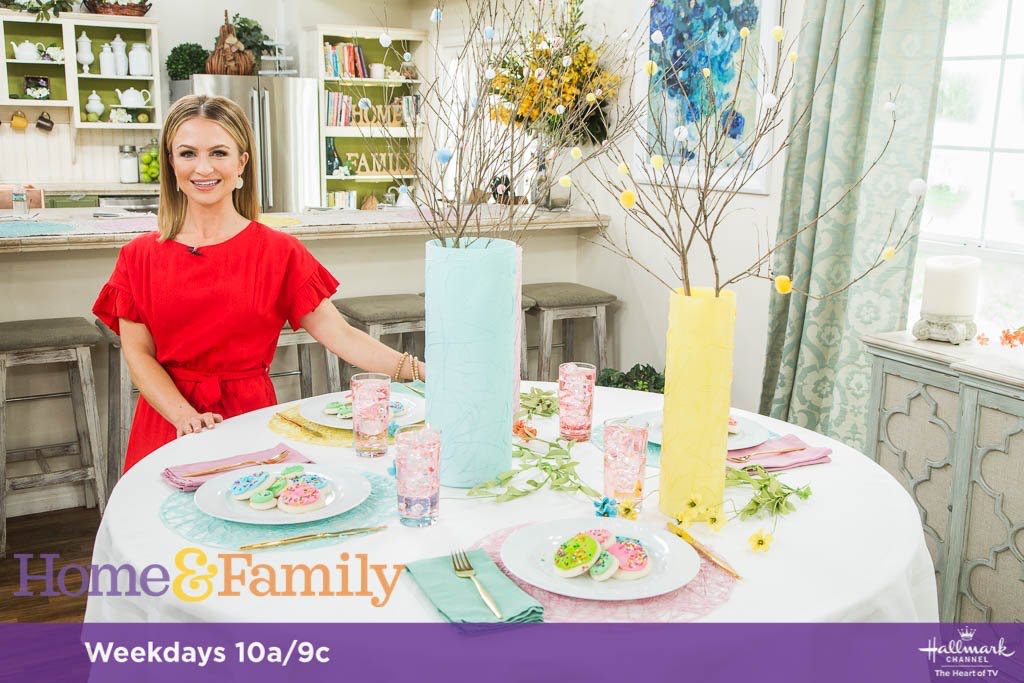
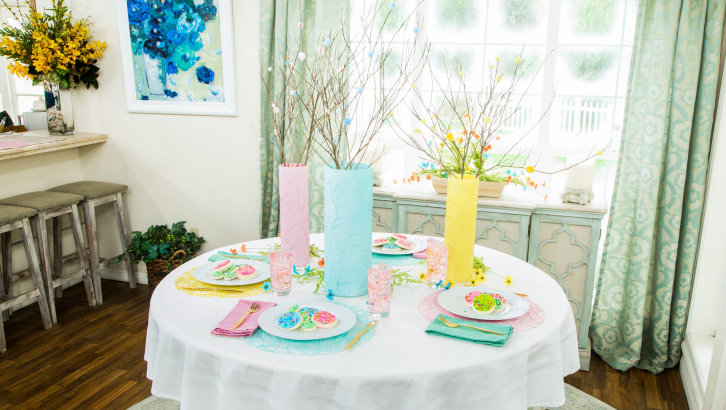
I love when something simple and inexpensive can make such a big statement! These adorable placemats are made from glue guns and spray paint…that’s it!!
Materials for Nested Placemats
-
Parchment paper
-
Glue gun
-
Glue sticks
-
Tape
-
Spray paint
-
Pencil
-
Piece of yarn or string
Materials for Nested Vases
-
Vase
-
Glue gun
-
Glue sticks
-
Spray paint
Materials for Pom Pom Sticks
-
Sticks
-
Glue gun
-
Glue sticks
-
Small pom poms
DIY Nested Placemats and Spring Table Setting
Directions:
Nested Placemats
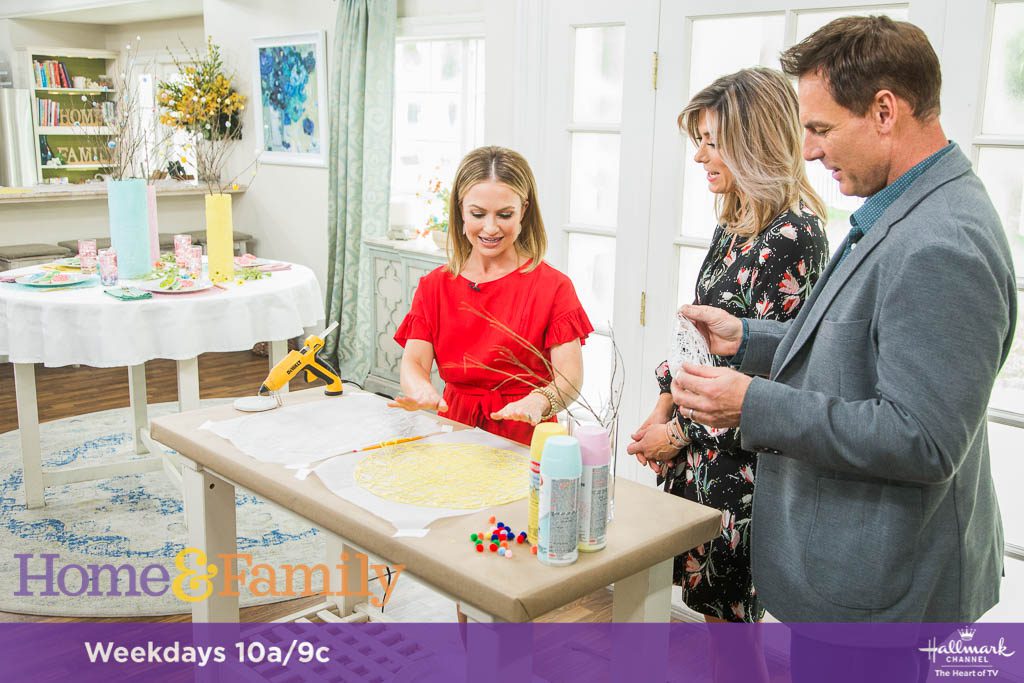
1. Place a sheet of parchment paper on a flat work space and secure it with tape on all four corners.
2. Place a plate upside down onto the parchment paper.
3. Measure a piece of string or yarn from the center of the plate to about 2 inches longer than the plate.
4. Hold the pencil at the end of the yarn and hold the other end of the yarn on the center of the plate, and use that to draw a circle around the plate; this helps to evenly draw a large circle 2 inches longer than the plate so that the placemat can be seen underneath the plate once done.
5. Remove the plate.
6. Option to draw the desired design onto the parchment paper.
7. Use the glue gun to apply the glue over the traced design, or freehand a “nested” intertwined look.
8. Allow to cool completely.
9. Remove from the parchment paper.
10. Spray paint the dried glue fun shape with desired color.
11. Allow to dry.
12. Place under plate as a placemat.
Nested Vases
1. Use the glue gun to create a swirled “nested” look unto the vase (It helps to spin the vase around while doing this).
2. Allow to cool completely (The glue dries quickly so you shouldn’t need to worry about it running down the vase).
3. Spray paint in desired colors.
Pom Pom Sticks
1. Use the glue fun to place the little pom poms all over the sticks as desired
DIY Nested Placemats and Spring Table Setting


